Provide an API
Introduction
To provide an API to the FSC Group, you need to route traffic through the Inway. To make sure traffic is encrypted between your and other nodes, we will use the certificate which we've setup in Retrieve a demo certificate .
Please note that:
- You need a domain name to provide an Inway (an IP address will not work).
- You need a domain name to provide a Manager (an IP address will not work).
- The domain should be the same as the domain you used to generate the certificates (that was in Retrieve a demo certificate).
It is not recommended to follow this guide when you're working from your home network.
In the Docker Compose file we have started, the Inway is running on the port
443and the Manager on8443. Make sure that both ports are publicly available.
Verification
Assuming you followed Getting up and running, the Inway and Manager should already be up and running.
You can confirm that by inspecting the Controller logs:
docker logs try-me-controller-1
The output should look similar to:
{"level":"INFO","time":"2025-04-03T11:38:03.759Z","caller":"logger/logger.go:21","message":"version info: version: v1.19.0 source-hash: f6be68cd5abe78c93cf17b0d1a3f22d169ed6c3b"}
Next, let's take a look at the logs of our Inway:
docker logs try-me-inway-1
The output should look similar to:
{"level":"INFO","time":"2025-04-03T11:38:03.900Z","caller":"logger/logger.go:21","message":"version v1.19.0, source-hash f6be68cd5abe78c93cf17b0d1a3f22d169ed6c3b"}
Create a Service
In the following example we will use echo-api.3scale.net as an example API.
To provide our API, we first have to create a Service and its details in the Controller UI. You can do that by going to the services page where you click on the 'Service toevoegen' button.
For the Service name, use echo and for the API endpoint URL use https://echo-api.3scale.net.
Select https://<your-inway-domain>:443 as the Inway to be used by this service.

Whenever you're ready, click 'Service toevoegen' to save the new Service.
If you're specifying you own API, please note that
localhostwill not work. If your API is running on the same machine as your Inway, the endpoint URL should be your network IP and notlocalhost.
Publishing the service
The next step is to create a Contract with a Service Publication Grant. This is needed to get the Service published in the Directory. The Controller provides a wizard which simplifies the creation of these contracts.
Open the Service detail page of the 'echo' service you have just created. Click 'Publiceer'.

Select the Directory named 'Directory' with OIN 12345678901234567899 to publish the Service to.
Submit the form by clicking 'Publiceer'. This will send the Contract with a ServicePublicationGrant to the Directory. The Directory will sign it automatically.
Navigate to the Directory page, the Service should be visible.
Querying your own APIs
Now let's try to fetch some data from our Inway using our Outway using curl:
curl http://localhost:8081
The response of the curl command should look similar to the following output.
{
  "message": "unknown grant hash: \"\" in Fsc-Grant-Hash header",
  "source": "outway",
  "code": "UNKNOWN_GRANT_HASH_IN_HEADER",
  "metadata": {
    "services": [],
    "grant_links": []
  }
}
The Outway produced an error because it needs a reference to the Grant in the Contract containing the authorization to use our Service. This reference is called a Grant hash, and we can obtain one by creating a Contract.
Requesting access to the Service
The next step is to create a Contract with a Service Connection Grant. The Controller provides a wizard which simplifies this proces.
- Navigate to the Service detail page via the Directory
- Click the 'Toegang aanvragen' button for your Outway

All fields should be prefilled for you. Verify these and click 'Verbind' to create the Contract.
Navigate to the Contracts overview page. A Contract with the Grant type Service Connection
for the echo Service should be visible. Normally the Peer hosting the Service must
also sign the Contract but since we are both providing and consuming the Service this is not necessary.
Let's call our Outway again.
curl localhost:8081
The response should look similar to:
{
    "message": "unknown grant hash: \"\" in Fsc-Grant-Hash header",
    "source": "outway",
    "location": "C1",
    "code": "UNKNOWN_GRANT_HASH_IN_HEADER",
    "metadata": {
        "services": [
            {
                "GrantHash": "$1$3$WZzMrz5W5NEjNHlztcQr6fQT5kOX6YlDlDbolM8ir1Gx80axkCuoYnFE-vyOXMfUUrD0fWgGH312dSleaNmiSQ",
                "Name": "echo",
                "PeerID": "01736343998118162510"
            }
        ]
    }
}
The Outway still produces an error telling us it did not receive a Grant hash. Since we created the Contract already, the available Grant hash is listed in the response.
In the above example that's $1$4$hdxN9_CV2iFeSA7O_eOn4rgLmiIcZimspK16-VYHGC_ogCTuO6xAC_hv-dA09QS0qKfKEMsFLXjs10LJHosZUQ==.
Let's call our Outway again with the Grant hash. We can do so by providing the Grant hash
using the HTTP header Fsc-Grant-Hash. Make sure to replace <grant-hash> with the Grant hash outputted
by the previous command.
curl -H 'Fsc-Grant-Hash: $1$3$WZzMrz5W5NEjNHlztcQr6fQT5kOX6YlDlDbolM8ir1Gx80axkCuoYnFE-vyOXMfUUrD0fWgGH312dSleaNmiSQ' localhost:8081
After running the command you should see the following result:
{
    "method": "GET",
    "path": "/",
    "args": "",
    "body": "",
    "headers": {
        "HTTP_VERSION": "HTTP/1.1",
        "HTTP_HOST": "echo-api.3scale.net",
        "HTTP_SEC_FETCH_DEST": "document",
        "HTTP_USER_AGENT": "Mozilla/5.0 (Macintosh; Intel Mac OS X 10_15_7) AppleWebKit/605.1.15 (KHTML, like Gecko) Version/18.3.1 Safari/605.1.15",
        "HTTP_ACCEPT": "text/html,application/xhtml+xml,application/xml;q=0.9,*/*;q=0.8",
        "HTTP_SEC_FETCH_SITE": "none",
        "HTTP_SEC_FETCH_MODE": "navigate",
        "HTTP_ACCEPT_LANGUAGE": "en-US,en;q=0.9",
        "HTTP_PRIORITY": "u=0, i",
        "HTTP_ACCEPT_ENCODING": "gzip, deflate, br",
        "HTTP_X_FORWARDED_FOR": "185.142.255.142",
        "HTTP_X_FORWARDED_PROTO": "https",
        "HTTP_X_ENVOY_EXTERNAL_ADDRESS": "185.142.255.142",
        "HTTP_X_REQUEST_ID": "faf5e97f-8ebc-4e84-9360-748423662722",
        "HTTP_X_ENVOY_EXPECTED_RQ_TIMEOUT_MS": "15000"
    },
    "uuid": "0a6ce158-d0e1-4d5a-b425-57c9e25cca2d"
}
Congratulations, you have successfully provided an API on the FSC Group! 🎉
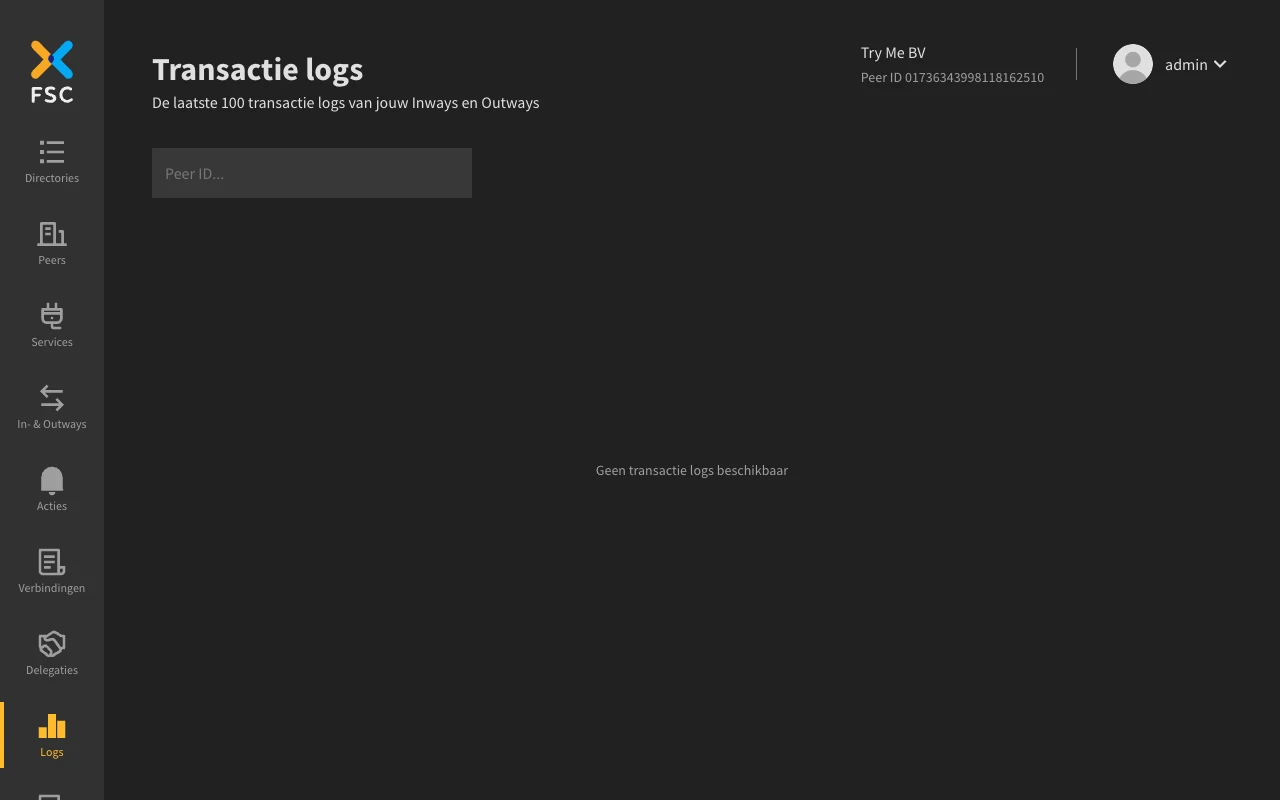
Transaction Log
The Inway and the Outway are able to log metadata of the requests they process in the Transaction Log. You can view the transaction log in the Controller. Open a browser, navigate to http://localhost:8080/transaction-logs. You should now see two entries for the request you just made (outgoing & incoming log)
You can also access the Transaction Logs from the database using:
docker exec try-me-postgres-1 psql -U postgres -d fsc_txlog -c "select * from transactionlog.records;"
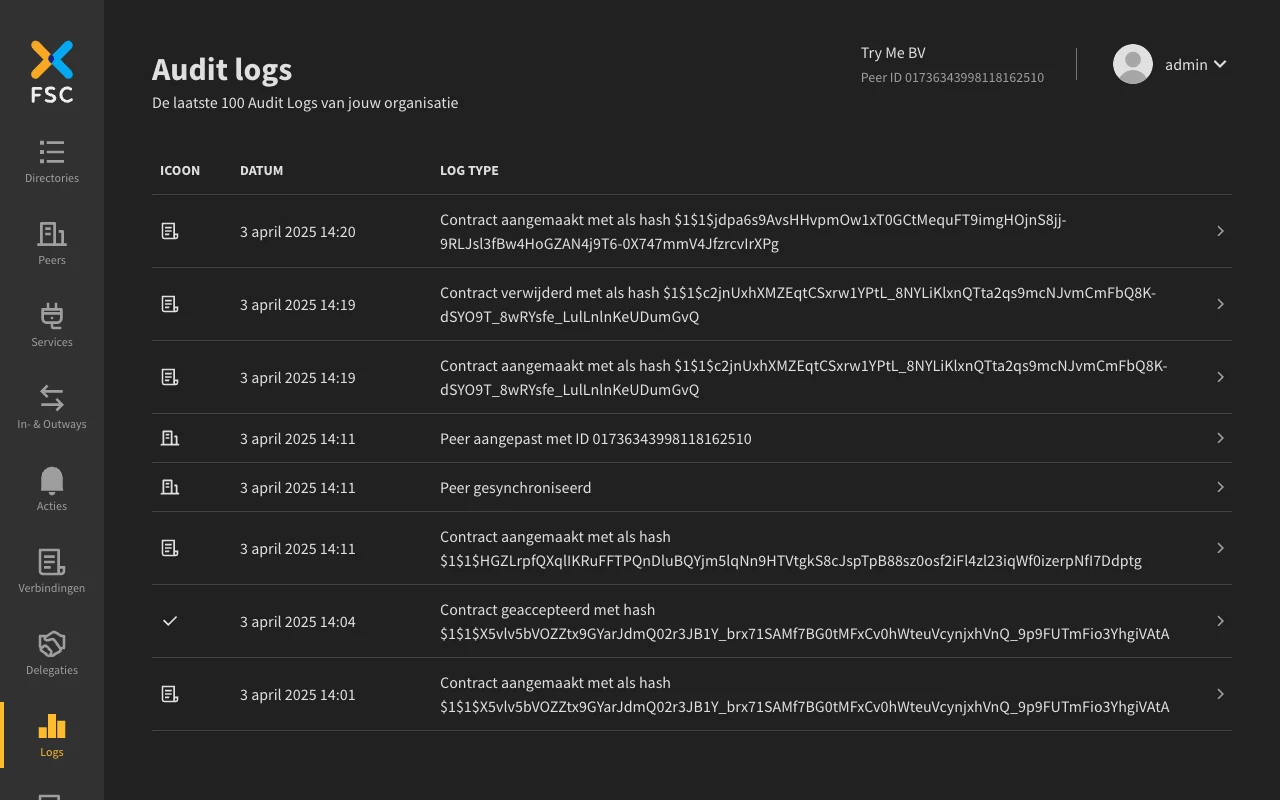
Audit Log
The audit log is also included with this setup. For every performed action that results in a change in the FSC configuration an Audit log record is created. Examples of actions that change the FSC configuration are the creation of a new Service or Contract.
You can also view the content of the Audit Log by running the following command:
docker exec try-me-postgres-1 psql -U postgres -d fsc_auditlog -c "select * from auditlog.records;"
In sum
You have provided your API to the FSC Group. In this part, you have:
- Created a Service for the echo API
- Published the Service in the demo Directory
- Used your Outway to consume your own Inway API
- Viewed the Transaction Logs using the Controller
- Viewed the Audit Logs using the Controller
This wraps up our guide to set up a local test environment and to provide and consume APIs on the FSC Group.